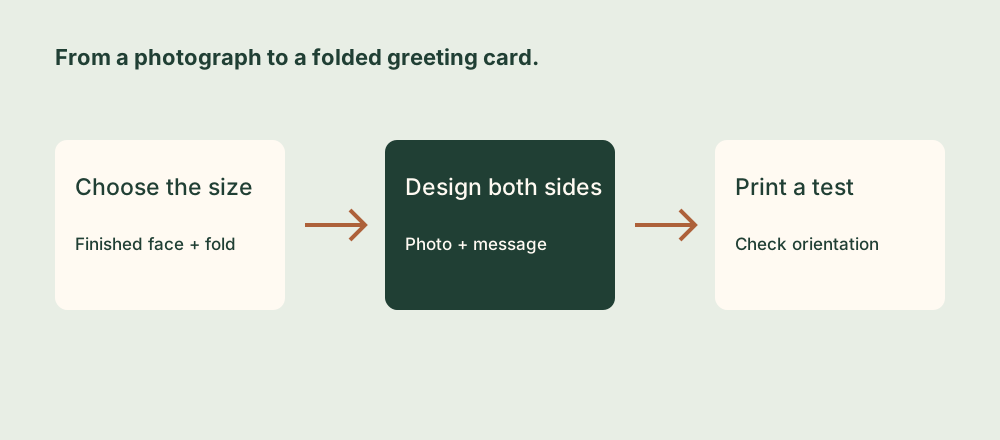
1. Choose the finished card before designing it
A homemade photo card starts with the physical result: the size in someone’s hand, the direction it opens, and the paper your printer can handle. Making those choices first avoids designing a beautiful front that later has to be cropped to fit a different fold.
Open My Card Creator on your Mac and start a new card. Choose a book fold, table tent, or single-page layout. Set the card and paper sizes for your project; the app includes common sizes and custom finished card dimensions.
For this exercise, make a portrait 5 × 7-inch book-fold card. The face is 5 inches wide and 7 inches high; two adjacent faces span 10 × 7 inches before trimming or allowances. That geometry alone does not guarantee a printer can place it on a particular sheet: its printable area and the selected layout still matter.
Check that your paper, envelope, and printer suit the chosen size. If they do not, choose a smaller finished card before adding the artwork. Use a plain sheet for the first physical test.
2. Place the photograph on the outside front
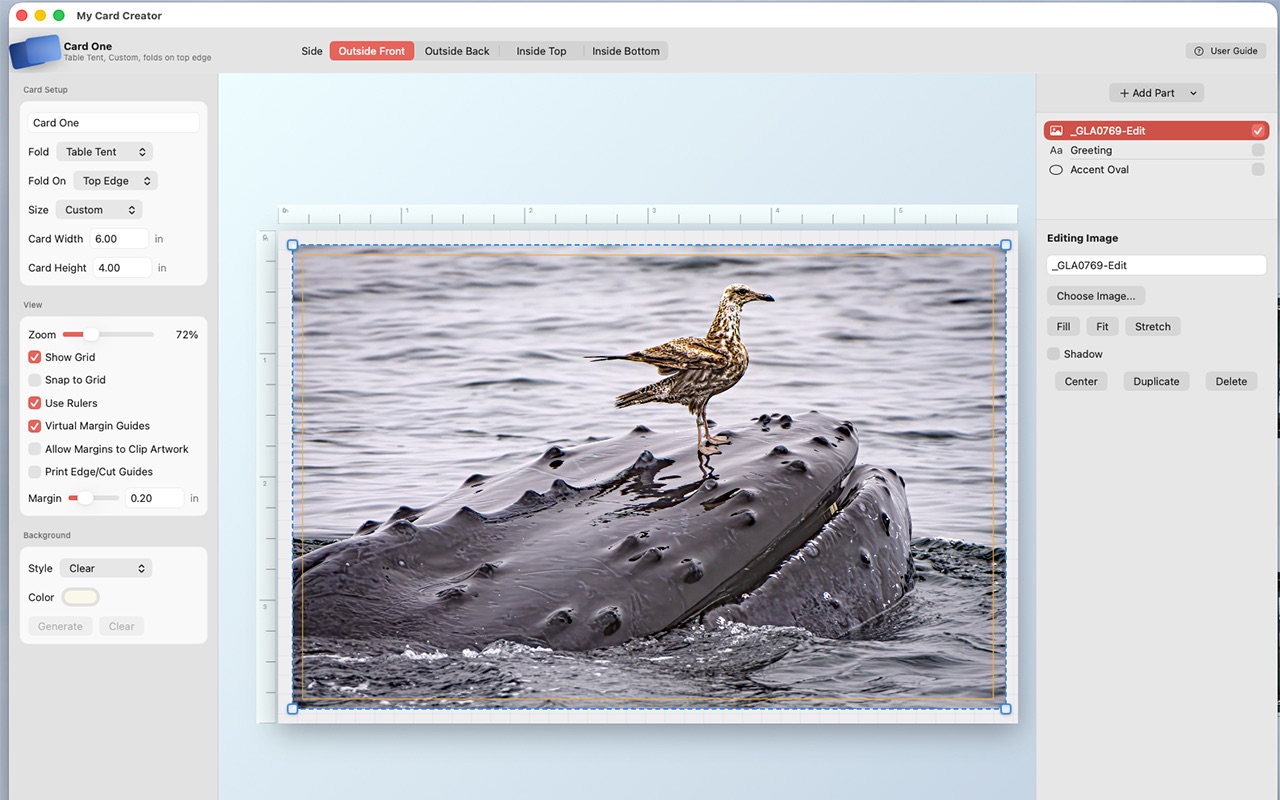
Select the appropriate side, such as Outside Front, then add your photo. Check the selected part before resizing or dragging, particularly when several text and image boxes overlap.
| Image mode | Result | When to use it |
|---|---|---|
| Fill | Preserves proportions and crops to fill the box. | A full photo panel where some edge cropping is acceptable. |
| Fit | Shows the whole photo with its proportions intact. | A composition whose edges must remain visible. |
| Stretch | Changes proportions to match the box. | Use cautiously; faces and familiar shapes can look distorted. |
With Fill, drag within the image to refine the crop. Keep faces, lettering, and important details away from the edge and fold. A ruler or margin guide helps with placement, but your test print is the best way to check the usable area of your actual printer.
For a full 5 × 7-inch face at 300 pixels per inch, the corresponding image dimensions are 1500 × 2100 pixels. This describes one card face, not a complete outside sheet. Cropping into a small portion of a photo reduces the detail available for that face.
3. Add a message that survives printing and folding
Add a short greeting on the front, then design the inside panels appropriate to the fold style. Select the side deliberately each time. A front greeting, inside message, and small back credit serve different purposes and should not compete for attention.
Text boxes have a clear fill by default. Leave it clear when the photo should show behind the words, or turn off Clear Box Fill to create a colored background. Choose enough contrast that the message remains readable over the image.
Use the text alignment controls for the words inside a box, and the object alignment controls to position the box itself. These are separate decisions. Grids, rulers, margins, and snapping help line things up without repeated tiny drags.
Keep type comfortably inside the card’s edges and clear of the crease. If you add an image border, choose its color and thickness deliberately; a zero thickness removes it. If you include a QR code, scan it from the printed test at its actual size before making the final cards.
4. Preview both sheets and test the fold
Open File → Print Preview and inspect both outside and inside sheets. Confirm the front, back, and inside panels are on the intended sides, with the orientation expected after folding.
- Print on plain paper first. Use the intended paper size and check scaling rather than accepting an unexpected fit-to-page reduction.
- Mark the test sheet. Note its top edge and feed direction so a manual second pass is repeatable.
- Test the second side. Duplex orientation depends on the printer and layout; a universal long-edge or short-edge instruction is unreliable.
- Fold the sample. Check panel order, margins, crop, message position, and whether either side is upside down.
Once the test works, use card stock your printer supports. Recheck the printer’s paper handling settings when changing from plain paper to a heavier sheet. Cut and fold guides can help finish the card; keep them out of the intended finished artwork.
5. Keep an editable project and a printable export
Save the editable .mycard project so you can change the message or photo later. Save updates the current file; use Save As when making a separate birthday, holiday, or thank-you variation.
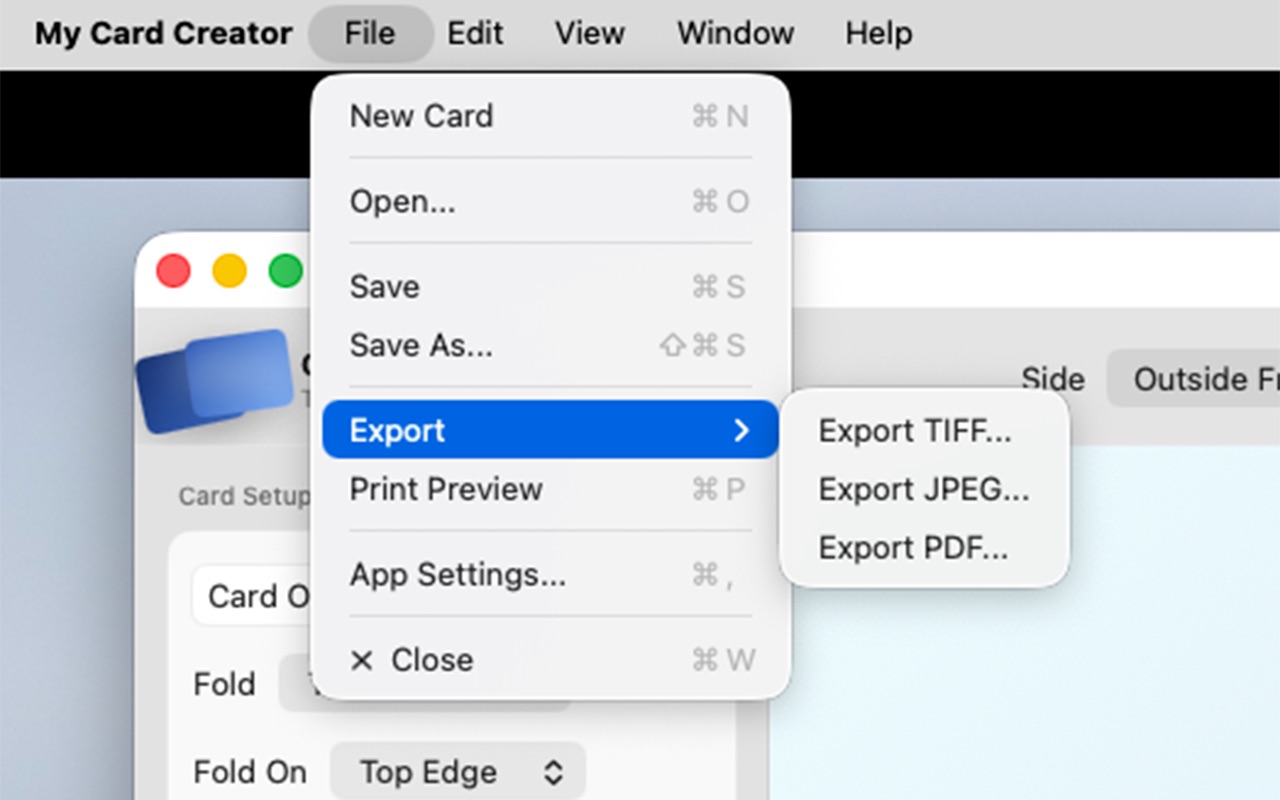
Use File → Export → PDF for a printable document, or choose TIFF or JPEG for 300-DPI image exports. TIFF and JPEG exports provide separate outside and inside sheet images. Keep the editable project alongside your output; a printable PDF does not replace the original design file.
Open the exported file and check it once more before printing a batch or sending it to someone else. For sizing, crop controls, and print preview details, see My Card Creator support.