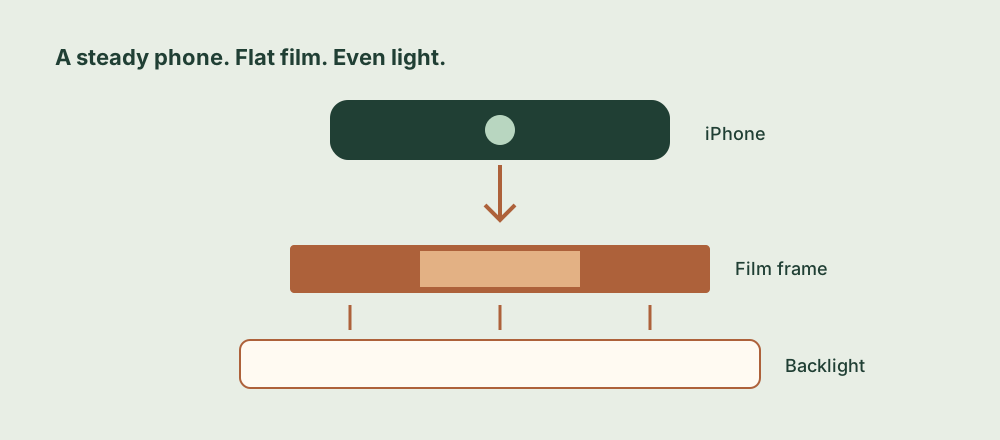
1. Build a simple scanning setup
You need developed film, an iPhone, a clean and even light source, and something to hold the film flat. A light pad is convenient. A tablet displaying a plain white screen can also work; move the film slightly above the screen if its pixel pattern appears in your capture. Avoid a visible gap in the support that lets the strip curl.
Handle negatives by the edges. Use a hand blower to remove loose dust before you photograph them. Put valuable or fragile film in a suitable holder rather than pressing it under improvised weights. Work in subdued room light so reflections from the phone and ceiling are less likely to show.
A phone stand makes repeated captures much easier. Place the phone above the film and adjust its height until one frame occupies most of the picture while staying sharp. Keep the camera lens directly over the frame, with the phone parallel to the film. Tilt makes one side larger and may leave a corner out of focus.
2. Capture a clean frame
- Start with one frame. Check that the backlight is uniform across the whole image. Mask bright light around the strip with a film holder or a dark surround.
- Check focus before filling the screen. If the image becomes soft when you move closer, raise the phone until the camera can focus. Digital zoom cannot recover detail that was never captured.
- Keep the brightest areas from washing out. On a negative, the clear or thin parts can be very bright. If they become featureless white in the capture, reduce capture exposure and try again.
- Hold everything still. A stable stand and a brief pause before capture reduce blur. Inspect a test frame closely before working through a whole roll.
For slides, the capture is already a positive image. You still need even backlighting and careful focus, but you should not invert its colors.
3. Convert and refine in Brightroom
Open Brightroom. Use Scan to photograph the film, or Convert to choose an existing capture from your library. Select the film type that matches the original:
- Color Neg: for color negatives with an orange base, including typical C-41 film.
- B&W Neg: for black-and-white negatives.
- Slide/Pos: for transparencies and other positive film.
Crop to the image area before fine tuning. Keep the light source, sprocket holes, and clear film border out of the final composition. Then adjust exposure and contrast, followed by highlights and shadows. For color film, refine warmth and saturation only after the overall brightness looks sensible. Use sharpening gently: a sharp outline around dust is still dust.
Compare the converted view with the source capture. This helps distinguish a conversion issue from a blurred or unevenly lit original. A successful conversion cannot replace missing focus or clipped detail.
4. Fix common scanning problems
| What you see | What to check first |
|---|---|
| Strong orange or blue cast | Confirm Color Neg mode, crop away the border, and check that the backlight is neutral and evenly lit. |
| Soft corners | Flatten the film, make the phone parallel, and move farther away if the lens is too close to focus. |
| A grid or screen texture | Increase the distance between the film and the tablet screen while keeping the film in focus. |
| Dust spots or hairs | Clean the setup with a blower and recapture. Inspect the light source as well as the film. |
| Flat, hazy contrast | Reduce room reflections and mask excess backlight around the frame before adding contrast. |
5. Caption, save, and keep the film
Add a typed or dictated caption before saving. Brightroom embeds the caption as IPTC metadata in the JPEG, useful for names, approximate dates, places, and roll numbers. A caption such as “Family picnic, summer 1982, roll 14 frame 6” will be more useful later than a filename alone.
Save the finished photo and keep the original capture when you want the option to revisit the conversion. Back up the digital files separately from your phone. Keep the physical negatives too: a better setup or a dedicated scanner may reveal additional detail in an important frame.
A phone setup is a practical way to make family photographs accessible and shareable. For a large print, damaged film, or an irreplaceable frame that needs the best possible reproduction, consider a carefully controlled camera setup or a professional scanning service.
For app-specific questions, see Brightroom support.