1. Separate the outside mat size from the opening
Three measurements matter: the outside mat dimensions, the image dimensions you want to display, and the opening you will actually cut. Keeping those separate prevents a common mistake: calculating borders around the full print even though the mat is meant to cover a small amount of it.
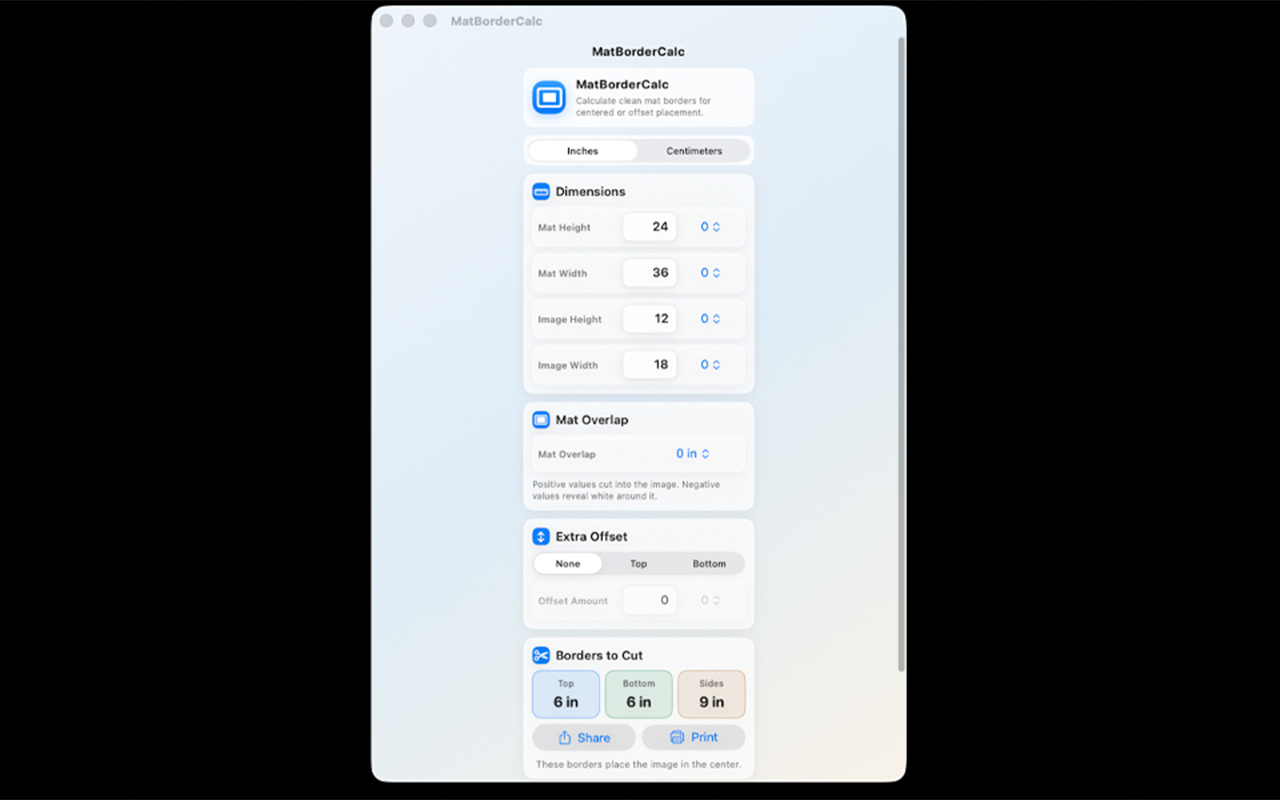
Measure the actual mat blank and print. A frame’s nominal size is a useful starting point, but check the fit of the assembled mat, backing, and artwork. Enter height and width in the correct orientation rather than assuming every 8 × 10-inch photograph is portrait.
In this guide, the mat is 11 inches wide by 14 inches high, and the image is 8 inches wide by 10 inches high. Dimensions are measured flat. These are planning measurements for the visible window; follow your mat cutter’s instructions for the cutting and bevel setup.
2. Calculate equal side, top, and bottom borders
With no overlap or reveal, the opening equals the entered image size. The remaining space is divided equally between the two opposite borders.
Top and bottom = (mat height − opening height) ÷ 2
Sides = (11 − 8) ÷ 2 = 1½ inches
Top and bottom = (14 − 10) ÷ 2 = 2 inches
These borders center the opening geometrically. They do not include any automatic visual or optical adjustment. In MatBorderCalc, Extra Offset: None gives equal top and bottom borders.
3. Account for overlap or a white reveal
To cover the edge of the image by ⅛ inch on every side, subtract twice that amount from each image dimension. Both the left and right edges are covered, and so are the top and bottom.
Opening height = 10 − (2 × ⅛) = 9¾ inches
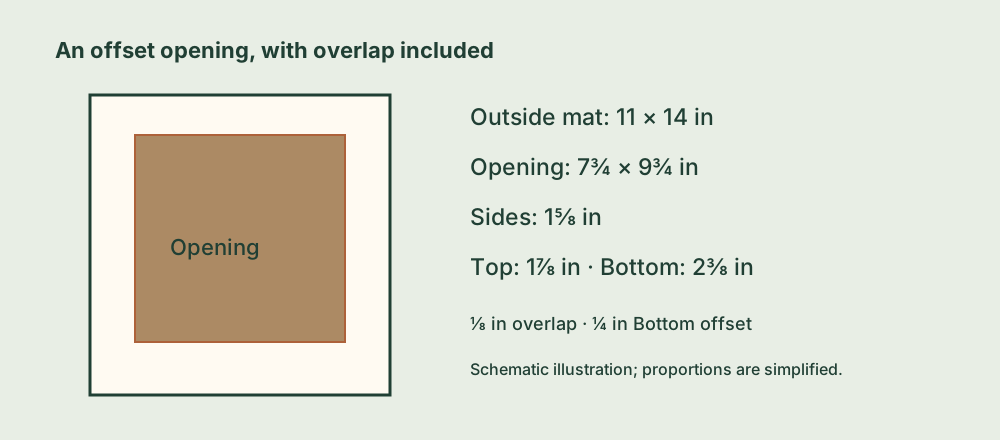
Sides = (11 − 7¾) ÷ 2 = 1⅝ inches
Top and bottom = (14 − 9¾) ÷ 2 = 2⅛ inches
In MatBorderCalc, enter the original 8 × 10-inch image dimensions and set Mat Overlap to +⅛ inch. The app adjusts the opening. If you instead enter the already-reduced 7¾ × 9¾-inch window, set overlap to zero; applying it again would count the allowance twice.
For a reveal, the opening is larger than the image. With a −⅛-inch overlap, the opening becomes 8¼ × 10¼ inches, leaving centered borders of 1⅜ inches at the sides and 1⅞ inches at the top and bottom. Make sure the print actually has enough surrounding white paper to show that reveal; the calculator cannot create a paper margin that is absent.
It determines how much image is covered. It does not replace a suitable mounting method or tell you where to apply tape or hinges. Check that the artwork is supported correctly and that important signatures or image details will remain visible.
4. Make the bottom border larger
An offset layout keeps the outside mat and opening sizes unchanged while moving the opening vertically. Starting with the +⅛-inch overlap example, the centered top and bottom borders are both 2⅛ inches.
Select Bottom and enter an offset of ¼ inch. MatBorderCalc adds ¼ inch to the bottom and subtracts ¼ inch from the top:
Bottom = 2⅛ + ¼ = 2⅜ inches
Sides remain 1⅝ inches
Check: 1⅞ + 9¾ + 2⅜ = 14 inches
The bottom is now ½ inch larger than the top. This is easy to overlook: an offset of ¼ inch moves the opening by ¼ inch but changes the difference between the two borders by ½ inch. If you want the bottom only ¼ inch larger than the top, use an offset of ⅛ inch.
Selecting Top works in the opposite direction. An offset must leave enough space for both borders; if it makes a border negative, reduce the offset or choose a larger mat. Switching Extra Offset back to None resets the offset amount and returns to equal top and bottom borders.
5. Check the complete plan before cutting
| Layout for an 8 × 10 image in an 11 × 14 mat | Sides | Top / bottom |
|---|---|---|
| No overlap, centered | 1½ in | 2 / 2 in |
| +⅛ in overlap, centered | 1⅝ in | 2⅛ / 2⅛ in |
| +⅛ in overlap, Bottom offset ¼ in | 1⅝ in | 1⅞ / 2⅜ in |
Add the left border, opening width, and right border: the sum should equal the outside mat width. Check the top, opening height, and bottom in the same way. Mark which edge is the top before transferring an offset layout to the back of the board.
Use one unit system throughout. MatBorderCalc supports inch fractions and centimeters; changing the display is useful, but mixing inch measurements with centimeter entries is not. Check the plan on scrap material when learning a cutter or an unfamiliar offset. For the app’s fields and controls, see MatBorderCalc support.