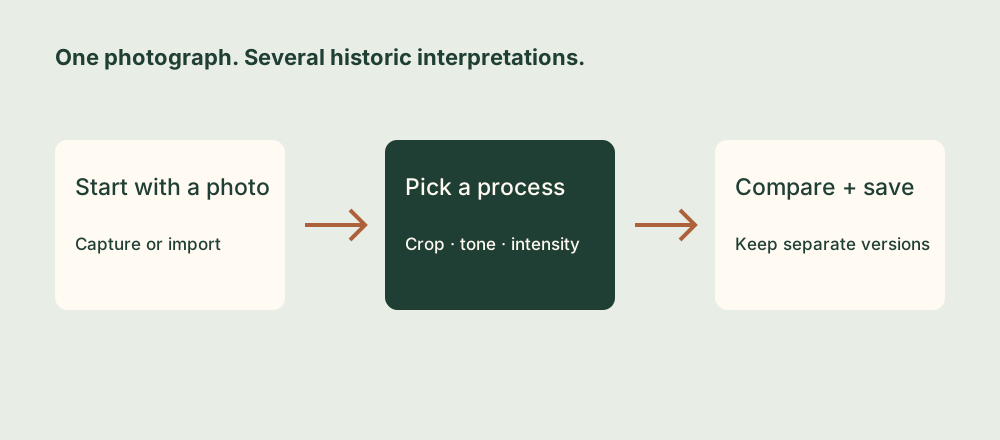
1. Start with a clear subject and useful light
A historic photo effect works best when the underlying photograph is worth looking at. An old-looking border cannot rescue a blurred face or a distracting background. Start with a portrait, a building, a still life, or a landscape with a clear main subject and room around its edges.
Open Ancient Light and either take a new photograph or import one from your photo library. For a new capture, tap the subject in the viewfinder to set focus and exposure. Use the lens controls available on your device to choose your framing before taking the photograph.
For an easy first exercise, photograph a window-lit object or a building with distinct light and shadow. Make one composition, then compare several processes using that same image. Holding the source constant makes it easier to understand what each look changes.
Ancient Light creates their visual character through image processing. You do not need photographic chemicals, coated paper, or a metal plate to make the app’s finished image.
2. Choose the process for the picture
Use the process selector to choose a starting look. In the review screen you can swipe between processes without taking another photograph. Rather than selecting a process only for its name, examine what happens to highlights, shadows, color, texture, and the subject’s shape.
| Process | Look to explore | A useful first subject |
|---|---|---|
| Cyanotype | A blue-toned print appearance with strong light-and-dark structure. | Leaves, architecture, or a simple still life. |
| Tintype | A plate-like portrait or scene with optional distressed edges. | A person against an uncluttered background. |
| Daguerreotype | A luminous plate-inspired rendering with optional period frames. | A portrait or a strongly shaped building. |
| Albumen | A warm paper print presented as an aged cabinet card. | A portrait or a quiet architectural detail. |
| Sepia | A warm brown-toned treatment. | A scene that already works well without strong color. |
These are creative starting points, not rules. A modern subject can be interesting in a period treatment, and a dramatic process may suit one photograph better than another. Try a blue Cyanotype version beside a warm Sepia version before committing to either.
3. Crop first, then refine the tones
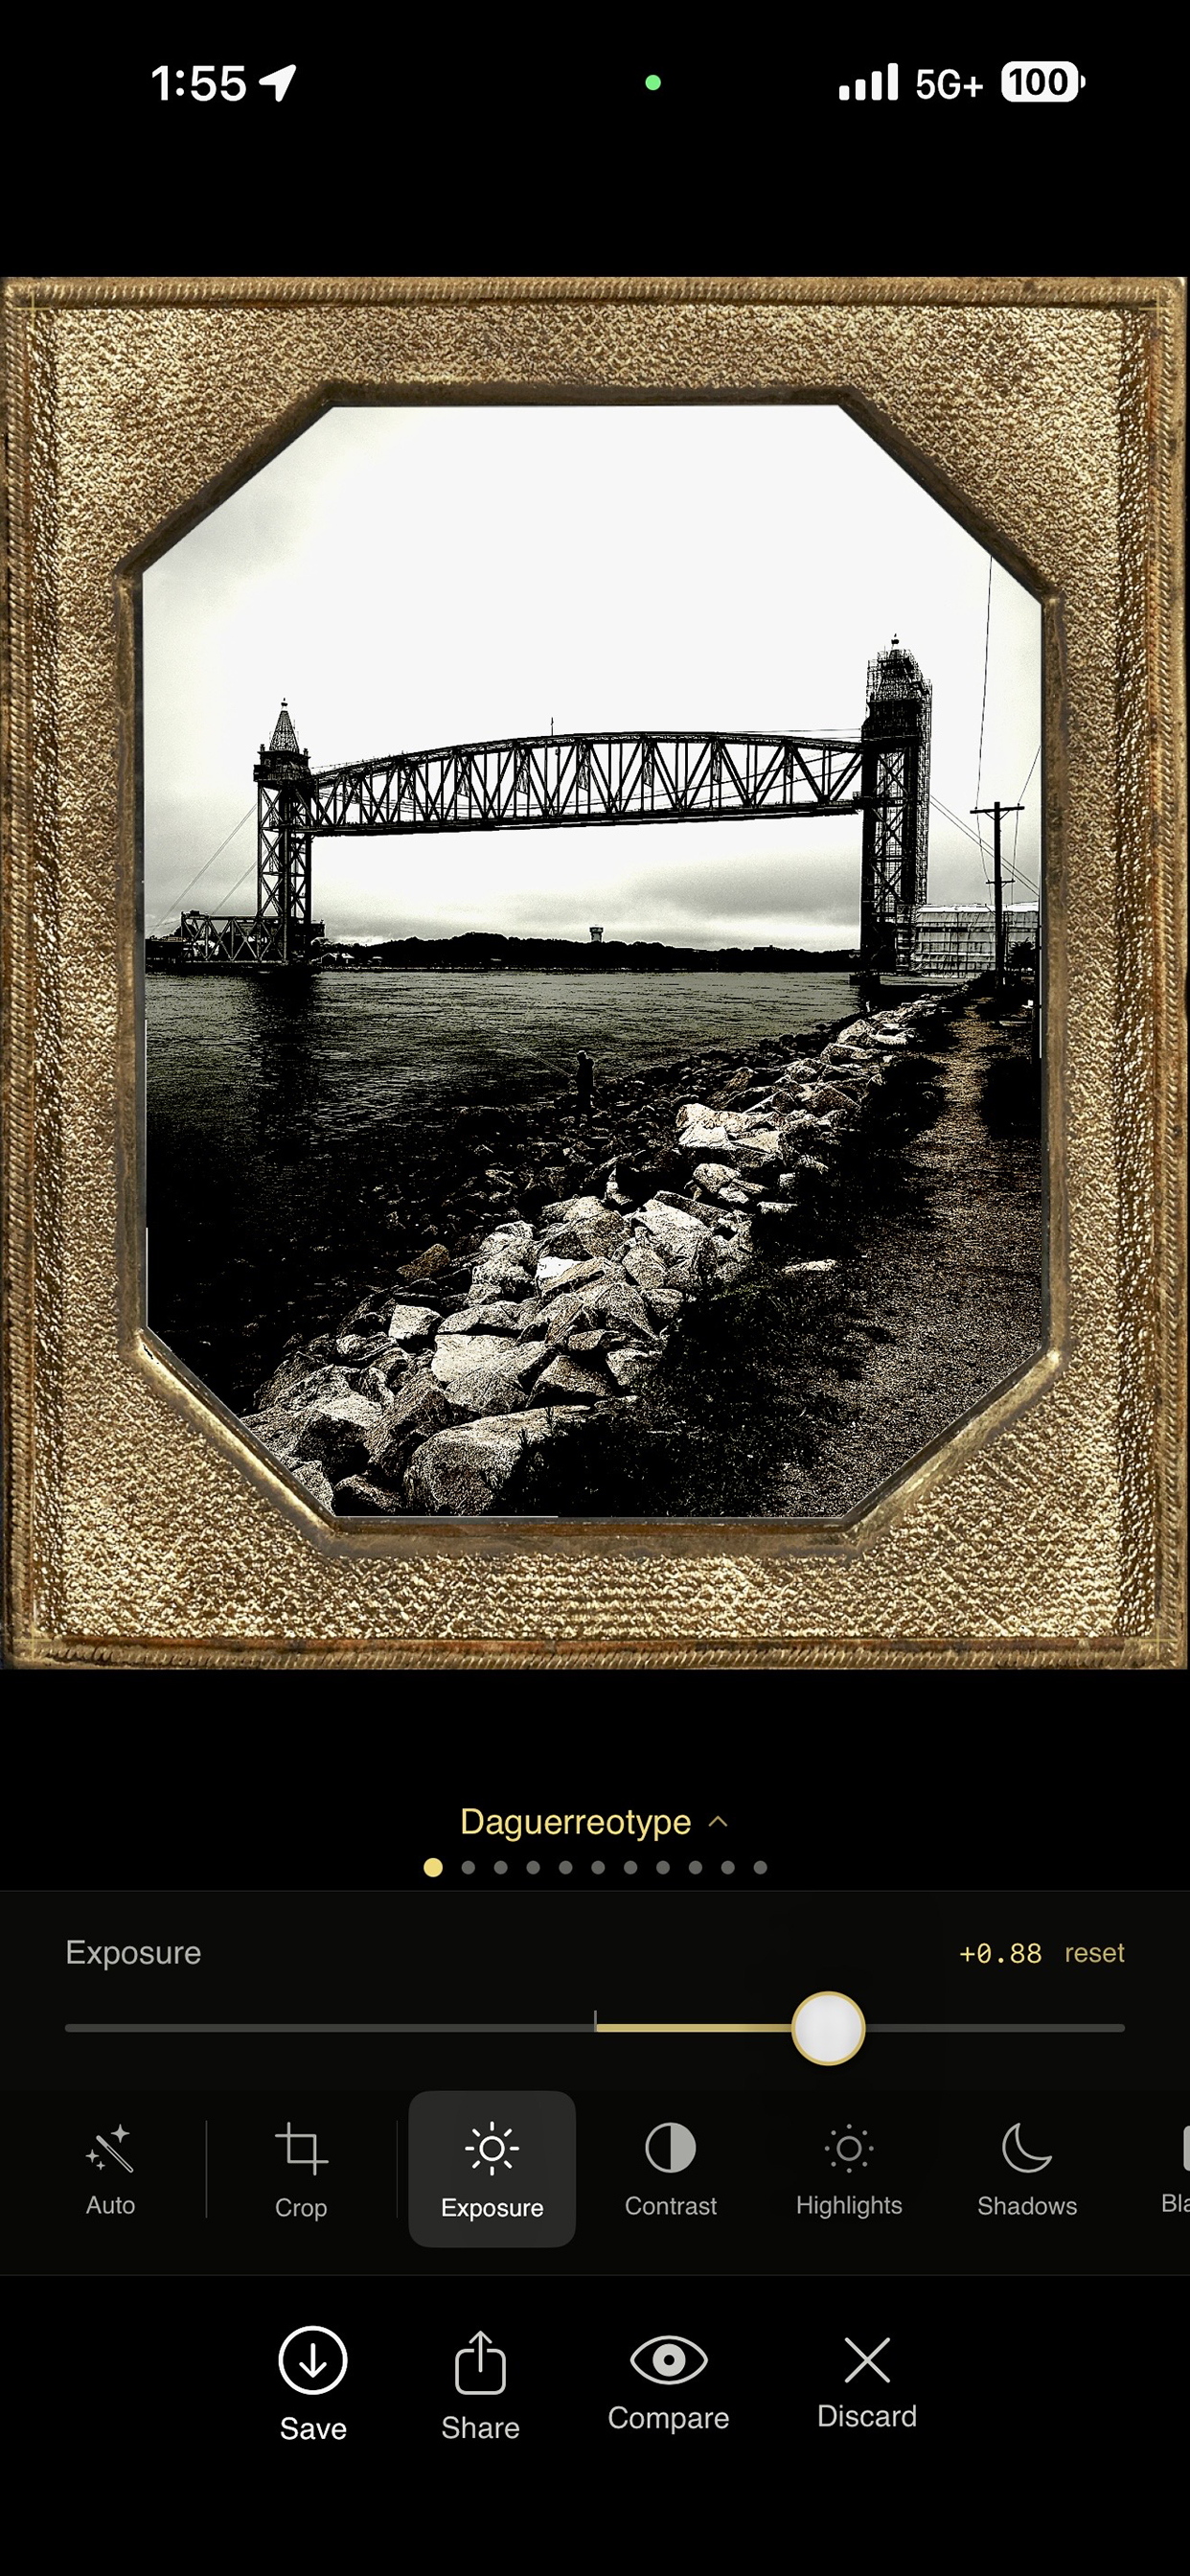
Open Crop in the review screen and use the handles to define the composition. Keep the main subject away from an edge that might be covered by a decorative border. Apply the crop, then assess the photograph at the size you intend to view or share it.
The app applies its plate edges, vignette, and border treatment around the cropped composition. That makes cropping part of the effect, not just a final trim. A tighter portrait may need a gentler vignette than a wide view.
- Set the effect’s intensity. Begin with a moderate treatment and increase it only while the subject remains readable.
- Adjust exposure. Keep important faces, pale walls, or reflective objects from disappearing into bright or dark areas.
- Refine contrast, highlights, and shadows. Make small changes and compare before pushing the next control.
- Use warmth, saturation, sharpness, or vignette when they help. A named process already establishes a strong look, so extra adjustments do not all need to be strong.
The review screen offers a scrollable adjustment bar. Tap a control to reveal its slider and watch the result as you change it. Auto enhancement is another starting point; compare its result before making additional manual changes.
4. Treat the frame as part of the composition
For Daguerreotype, select a period frame or choose No Frame when you want a simpler result. Compare the subject’s size inside the frame: a decorative edge can overwhelm a small subject or crowd a face that is already tightly cropped.
For Tintype, explore the regular and square plate formats and the available edge options. A square version changes the space around the subject, so revisit the crop rather than assuming the original framing will fit equally well. A cleaner edge and a worn edge can create very different impressions from the same photograph.
For Albumen, allow the cabinet-card presentation to contribute to the overall appearance. Judge the entire saved image, including its paper surround, rather than only the picture inside it. Process and frame choices may vary with the installed version; update the app if your controls differ from an older screenshot.
5. Save a small set of deliberate variations
Use Compare to check the treatment against the original. Keep the subject recognizable and make sure the effect supports the picture. When a version works, tap Save. Switch to another process and save again to keep a separate variation from the same source.
Open the saved files in Photos and compare them outside the editing screen. Check the full image, the cropped edges, and any frame before sharing. Keep your original library photo separately so you can make a different interpretation later.
A useful first set is one restrained version, one stronger version, and one different process. That gives you meaningful choices without filling your library with nearly identical edits. For control details, see Ancient Light support.