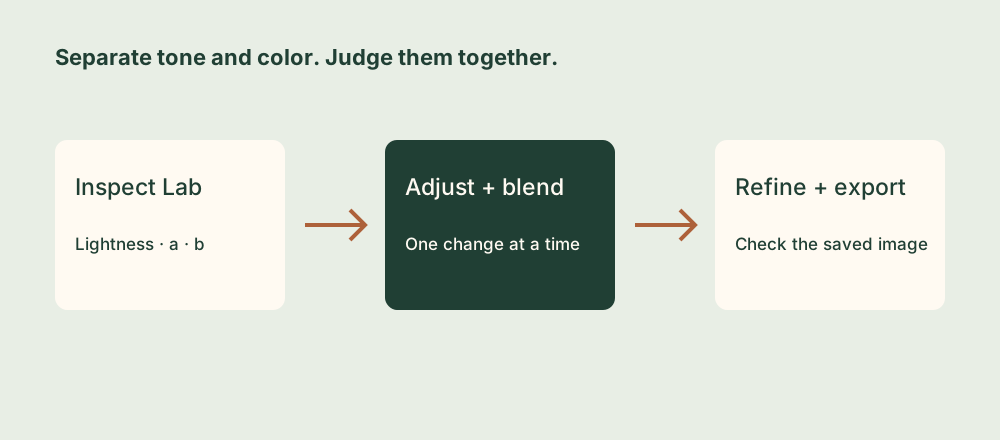
1. Understand what Lab separates
Lab color editing gives you another way to think about a photograph. Instead of adjusting red, green, and blue together, you work with a lightness channel and two color axes. This is useful when you want to explore color changes without starting with a general saturation slider.
| Channel | What it describes | A useful question |
|---|---|---|
| L* — Lightness | The light-and-dark structure of the image. | Can I make the subject’s tonal structure clearer? |
| a* | The green-to-magenta color axis. | How does this change the relationship between greens and magentas? |
| b* | The blue-to-yellow color axis. | How does this change the balance of blue and yellow? |
Real colors use both color axes. A green tree is not necessarily represented only by a*, and a blue sky is not represented only by b*. Separating the channels helps you experiment deliberately, but it does not divide a scene into object categories.
Lab Channels provides separate inversion, brightness, and contrast controls for these channels on iPhone and iPad. Start with small adjustments so you can recognize which control caused the change.
2. Inspect the channels before changing them
Import a photograph with several distinct colors and a clear main subject. A landscape containing sky, greenery, and a building is a useful learning image. Keep the original photo and use the same source for your first comparisons.
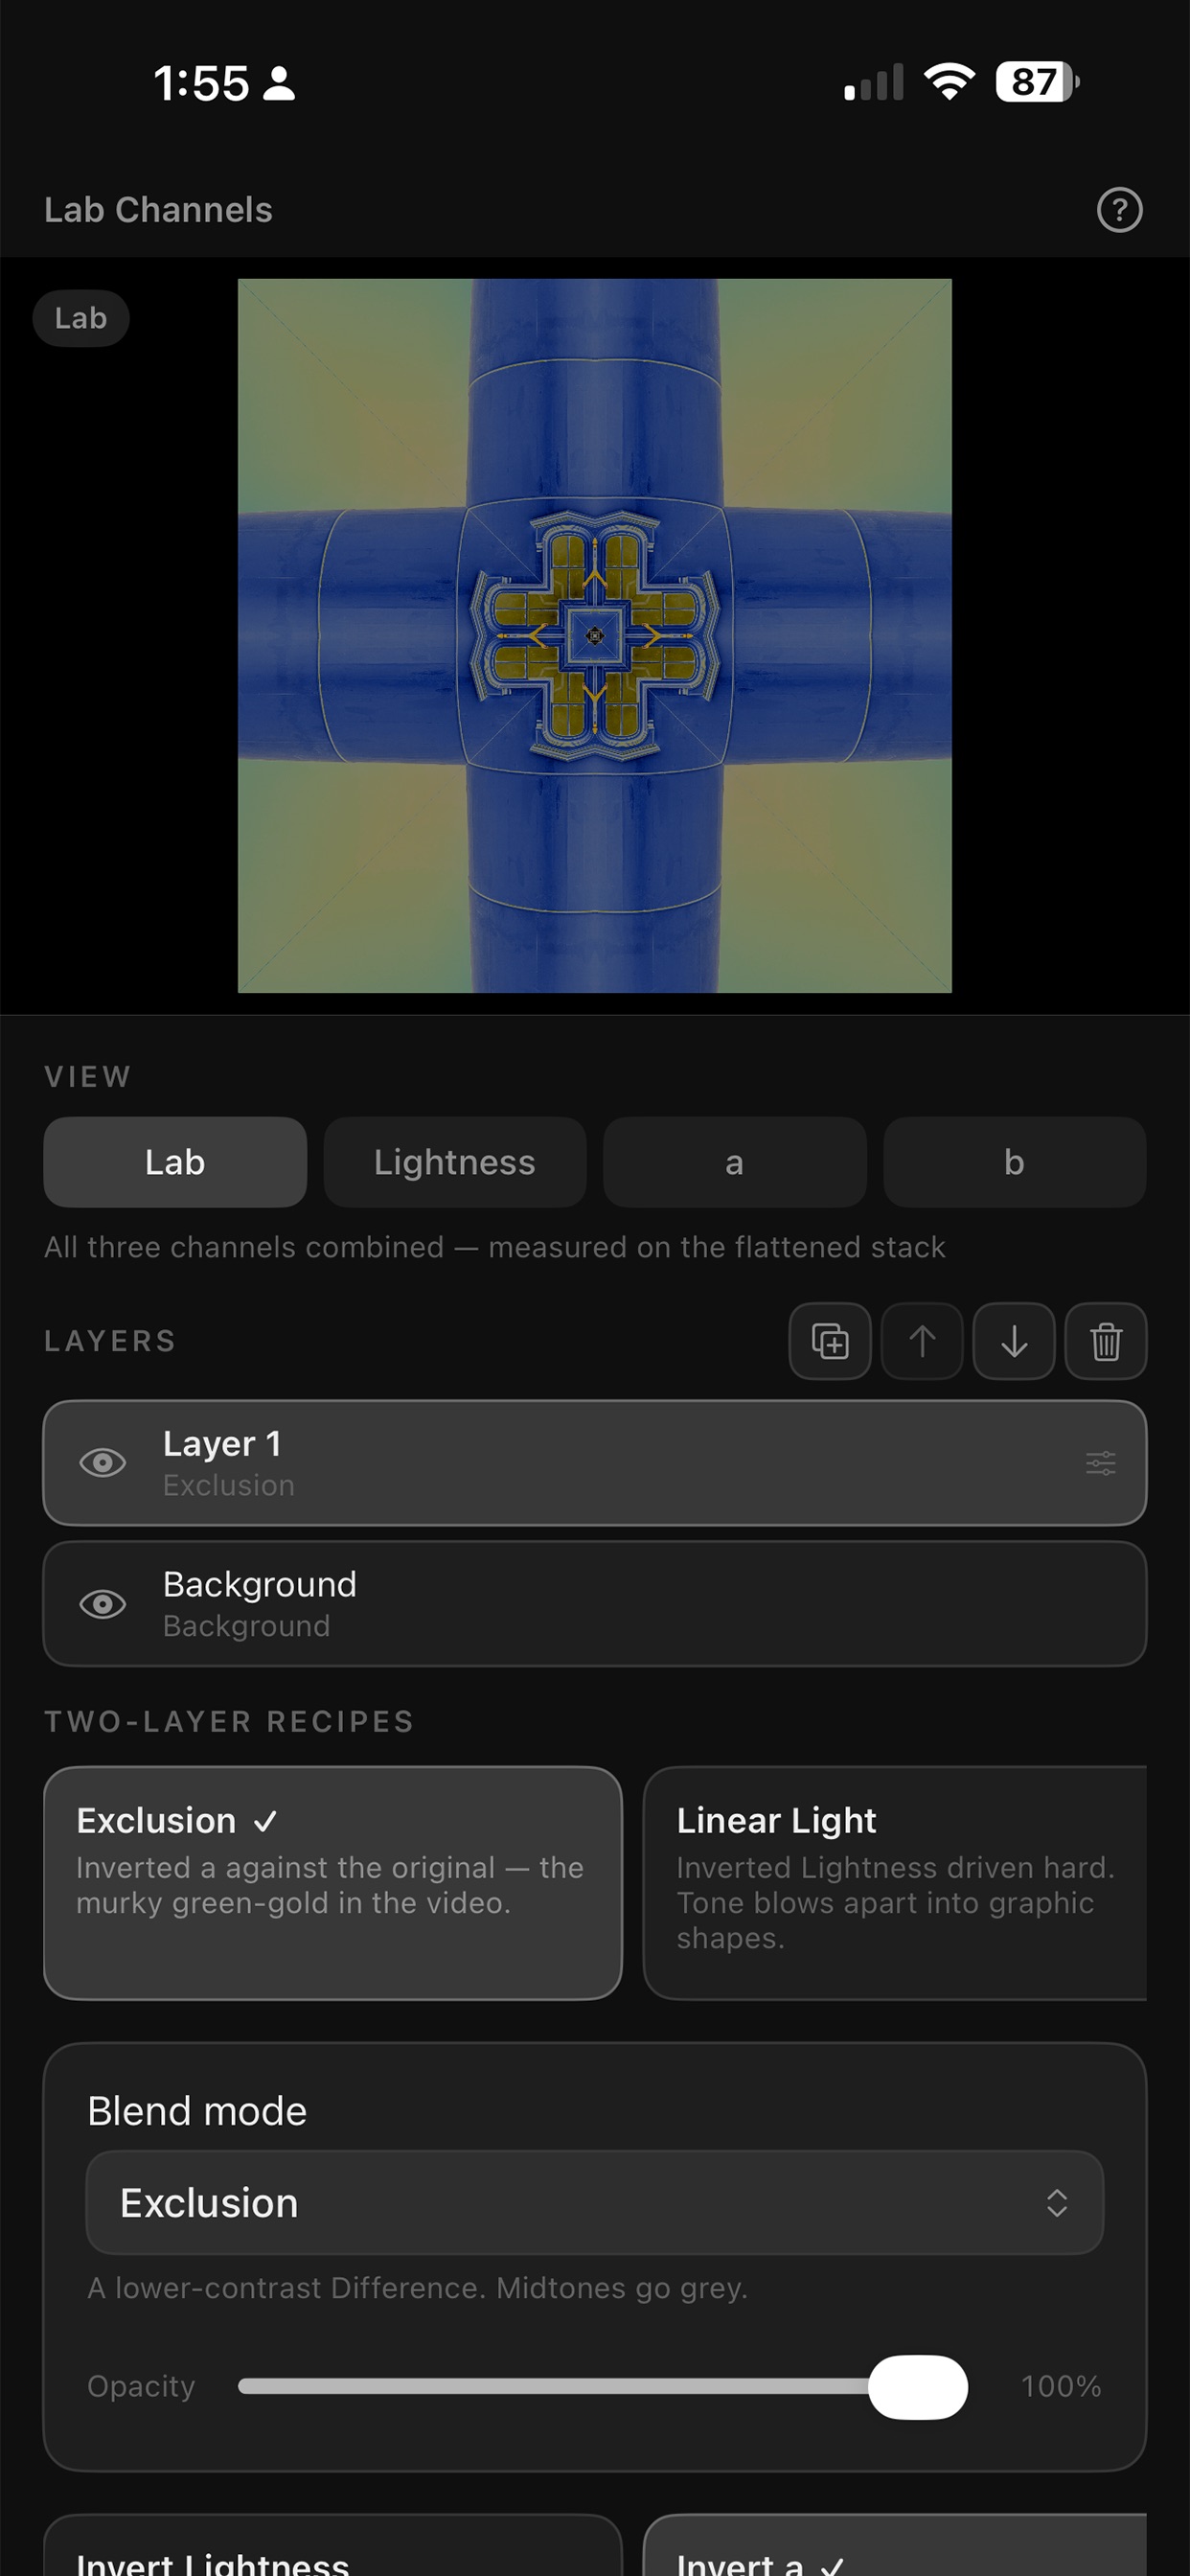
Use the View controls to examine Lightness, a, and b individually. The isolated channel views appear in grayscale, showing each channel’s structure. Selecting a view changes what you inspect; it is not the same as applying an edit.
Return to Lab to judge the combined color picture. Ask whether the subject is readable in Lightness and where the strongest differences appear in the color channels. This gives you a reason for choosing the next adjustment.
3. Make one tonal change and one color change
Begin with Lightness. Make a modest contrast adjustment, return to the combined view, and inspect the highlights and shadows. Stop before an important pale area becomes featureless or a dark subject loses its shape.
Next, make a small contrast change to a*, compare, and return it toward the starting setting if the colors become harsh. Repeat with b*. Keeping these steps separate teaches you more than pushing all three channels at once.
For a stronger exercise, try Invert a and compare the new color relationships. Then undo or reset that experiment before trying another. Swapping a and b is another deliberate color transformation. These options create interpretations of the scene; they are not automatic corrections to a camera’s color accuracy.
The channels separate numerical lightness and color information. Strong edits can still produce colors your display or export cannot reproduce directly, so the visible result also depends on gamut handling.
4. Blend an experimental layer with the original
Duplicate the photo layer before trying an extreme treatment. Select the copy, change its channels, then compare blend modes and opacity. This gives you a gentler way to incorporate a strong effect without requiring the whole photograph to use it at full strength.
As an exercise, invert a on the copy and reduce its opacity to around 30 percent. Compare that with a stronger setting while watching the main subject. The number is simply a starting point; choose the strength that suits your source image.
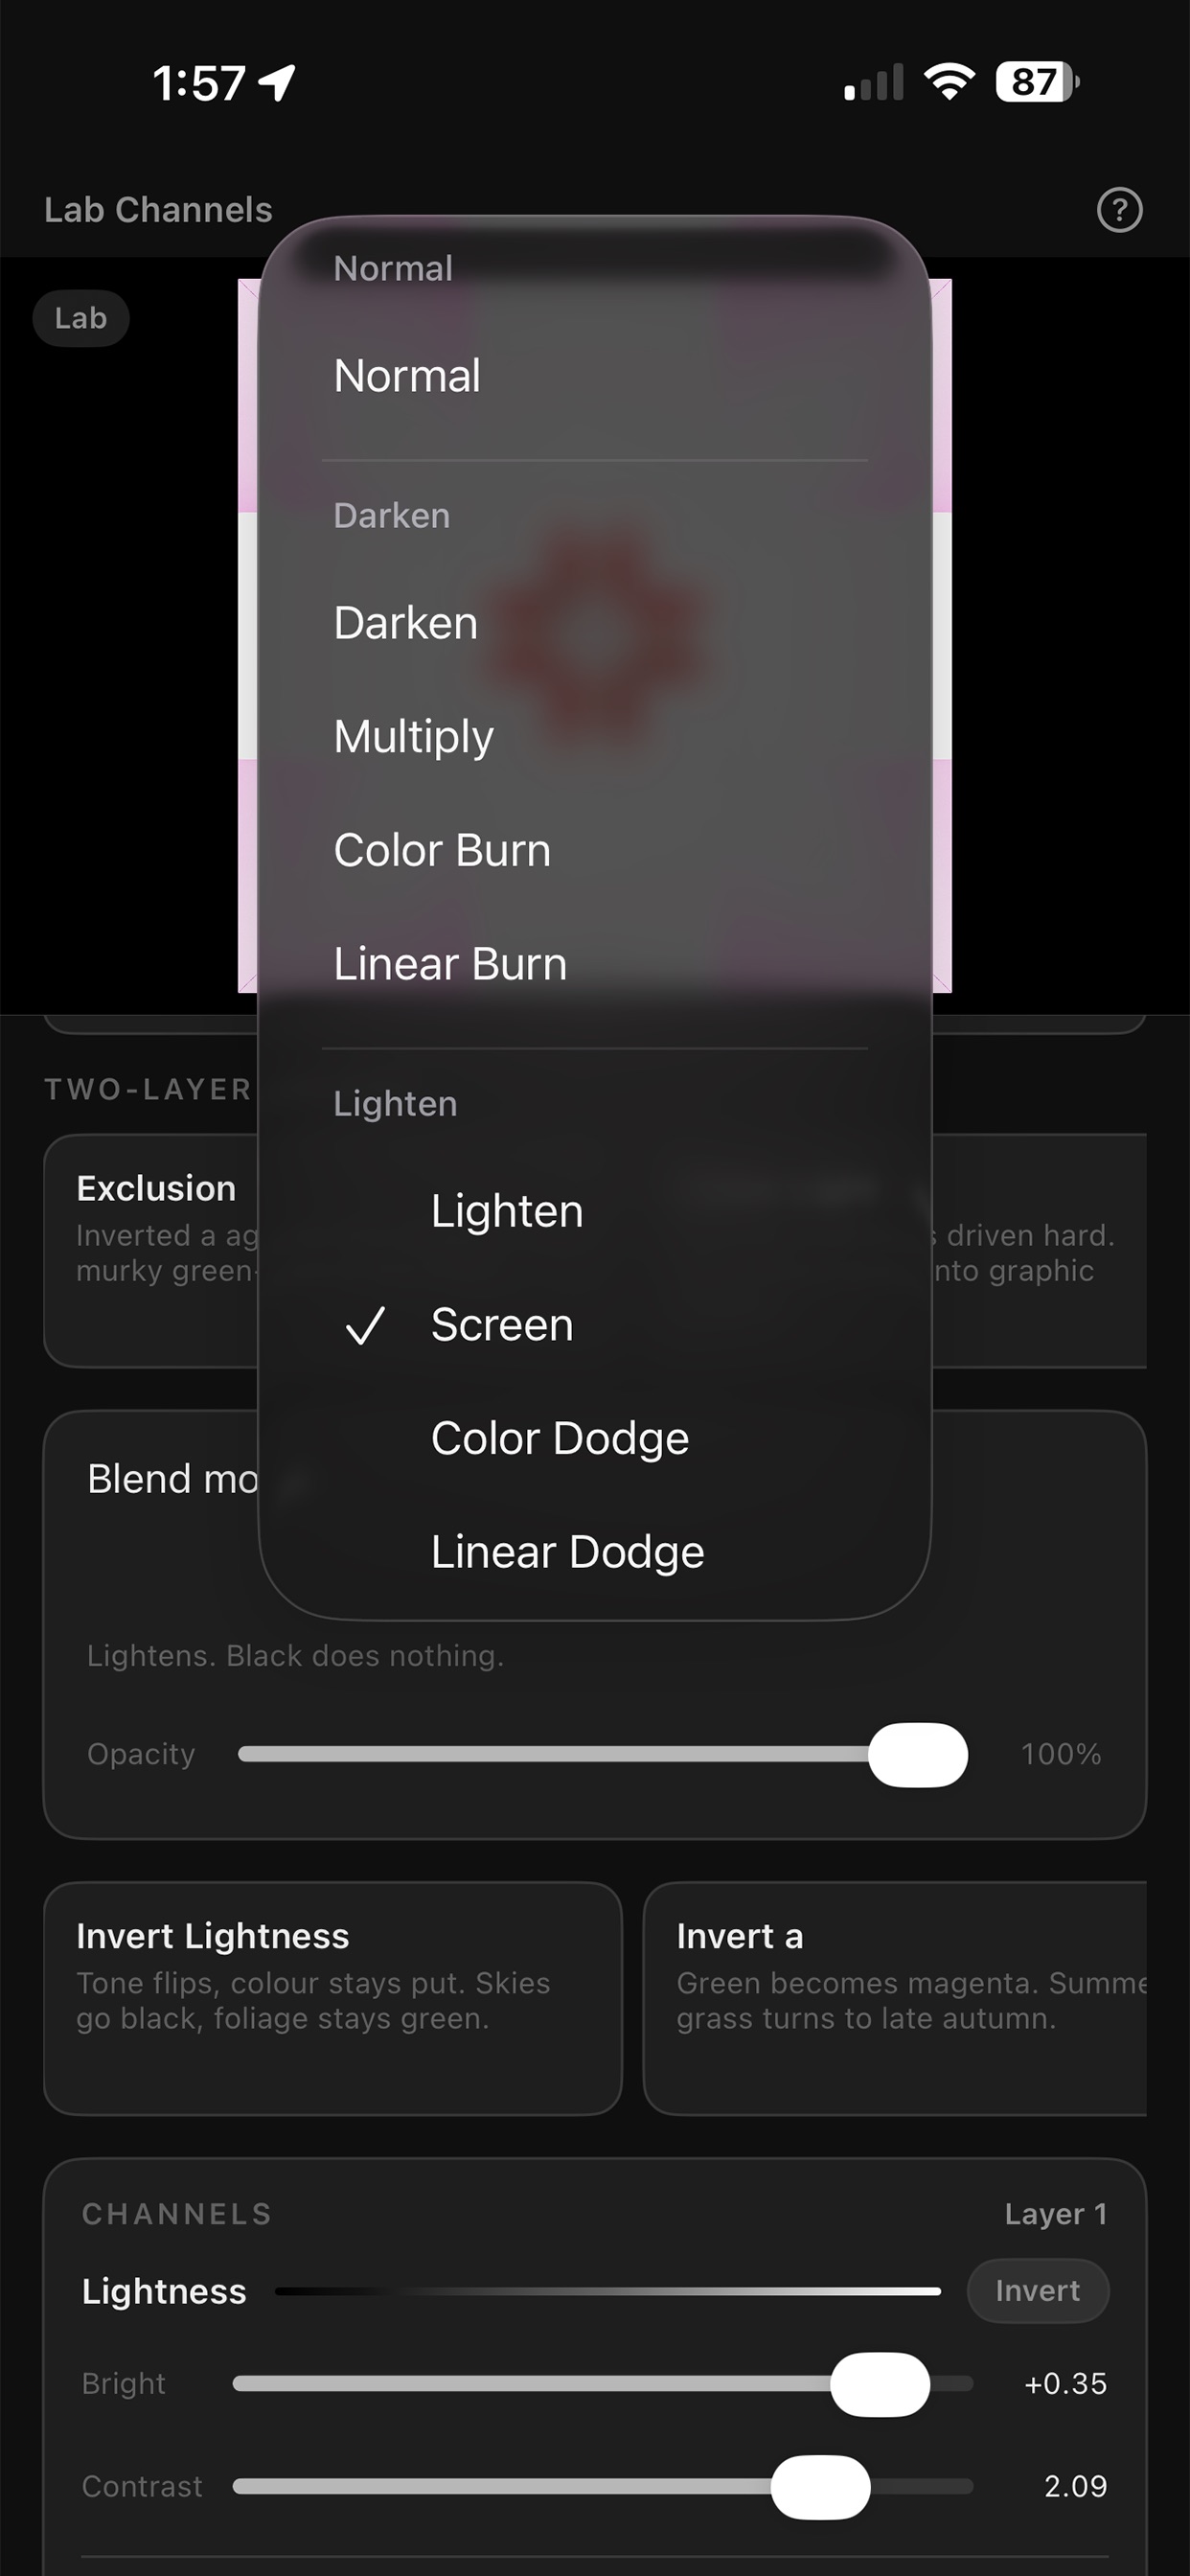
Try Color when exploring a layer’s color contribution, or Luminosity when exploring its tonal contribution. Screen and Multiply produce lighter and darker combinations, while Exclusion can be much more graphic. Keep one layer selected and one question in mind so the experiment stays understandable.
5. Compare gamut options and save the refined result
Strong channel edits may produce out-of-gamut colors. Compare Preserve and Clip rather than assuming they look identical. Preserve reduces saturation to bring colors into range while aiming to preserve hue and lightness; Clip cuts values at the output limits and can flatten gradients or change their appearance.
For a smoother photographic result, begin by assessing Preserve. Clip may suit a deliberately harsher graphic treatment. Check skies, skin, and smooth color transitions when deciding between them.
Let the Refining operation finish after moving a slider before judging fine detail. The app uses a fast preview during interaction and a more accurate path afterward. Saving processes the original at full resolution, so inspect the exported image in Photos as well as the editing preview.
Save a separate image and retain the original. If the result feels excessive outside the editor, reduce the experimental layer’s opacity or make smaller channel adjustments. For controls, see Lab Channels support. For background on the color model, see Adobe’s explanation of color modes.