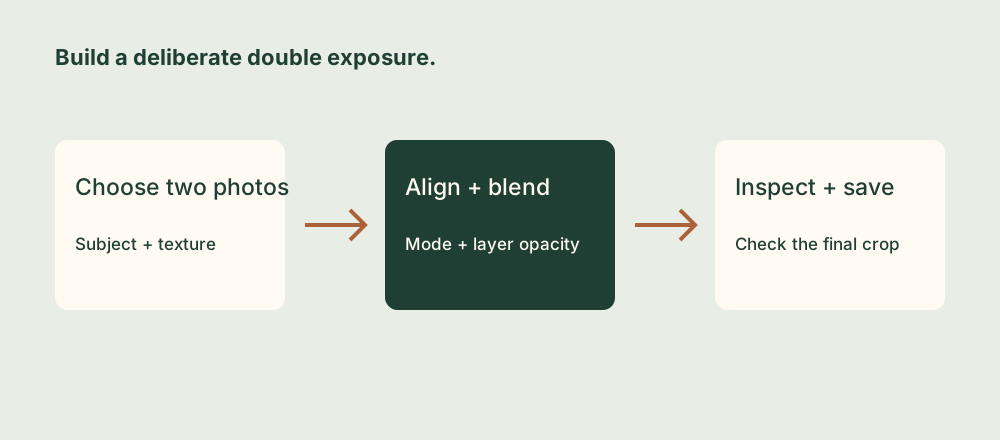
1. Choose two photographs with room to combine
A double exposure combines two photographs into a single image. A clear subject and a quieter texture make an easier first project than two crowded scenes. Try a building with a cloud photograph, a portrait with foliage, or a shoreline with a pattern of reflected light.
Open DoubleIt Camera on your iPhone. You can combine imported pictures, take multiple camera exposures, or import a photograph and shoot another over it. Start with two existing library photos so the scene stays fixed while you learn the editing controls.
Choose source images with useful detail and enough space around the main subject to allow repositioning. Avoid relying on a blend mode to recover a completely white sky or a face lost in deep shadow. Keep the original photos so you can make a different composition later.
2. Import the photos and select the correct layer
Use the photo import control to add your first picture, then add the second. Look at the thumbnail strip and select the layer you want to edit before moving anything. Drag to reposition it, then scale or rotate it until its important shapes fit the composition.
For a simple exercise, combine a building and clouds. Position the cloud texture where you want visual activity, keeping recognizable edges of the building readable. Make a large composition change first, then refine the placement after choosing a blend mode.
Turn the camera feed off while editing imported layers if it distracts from the result. This lets you judge the pictures you have already added. Turn it back on when you want to capture another exposure.
3. Compare blend modes before fine-tuning opacity
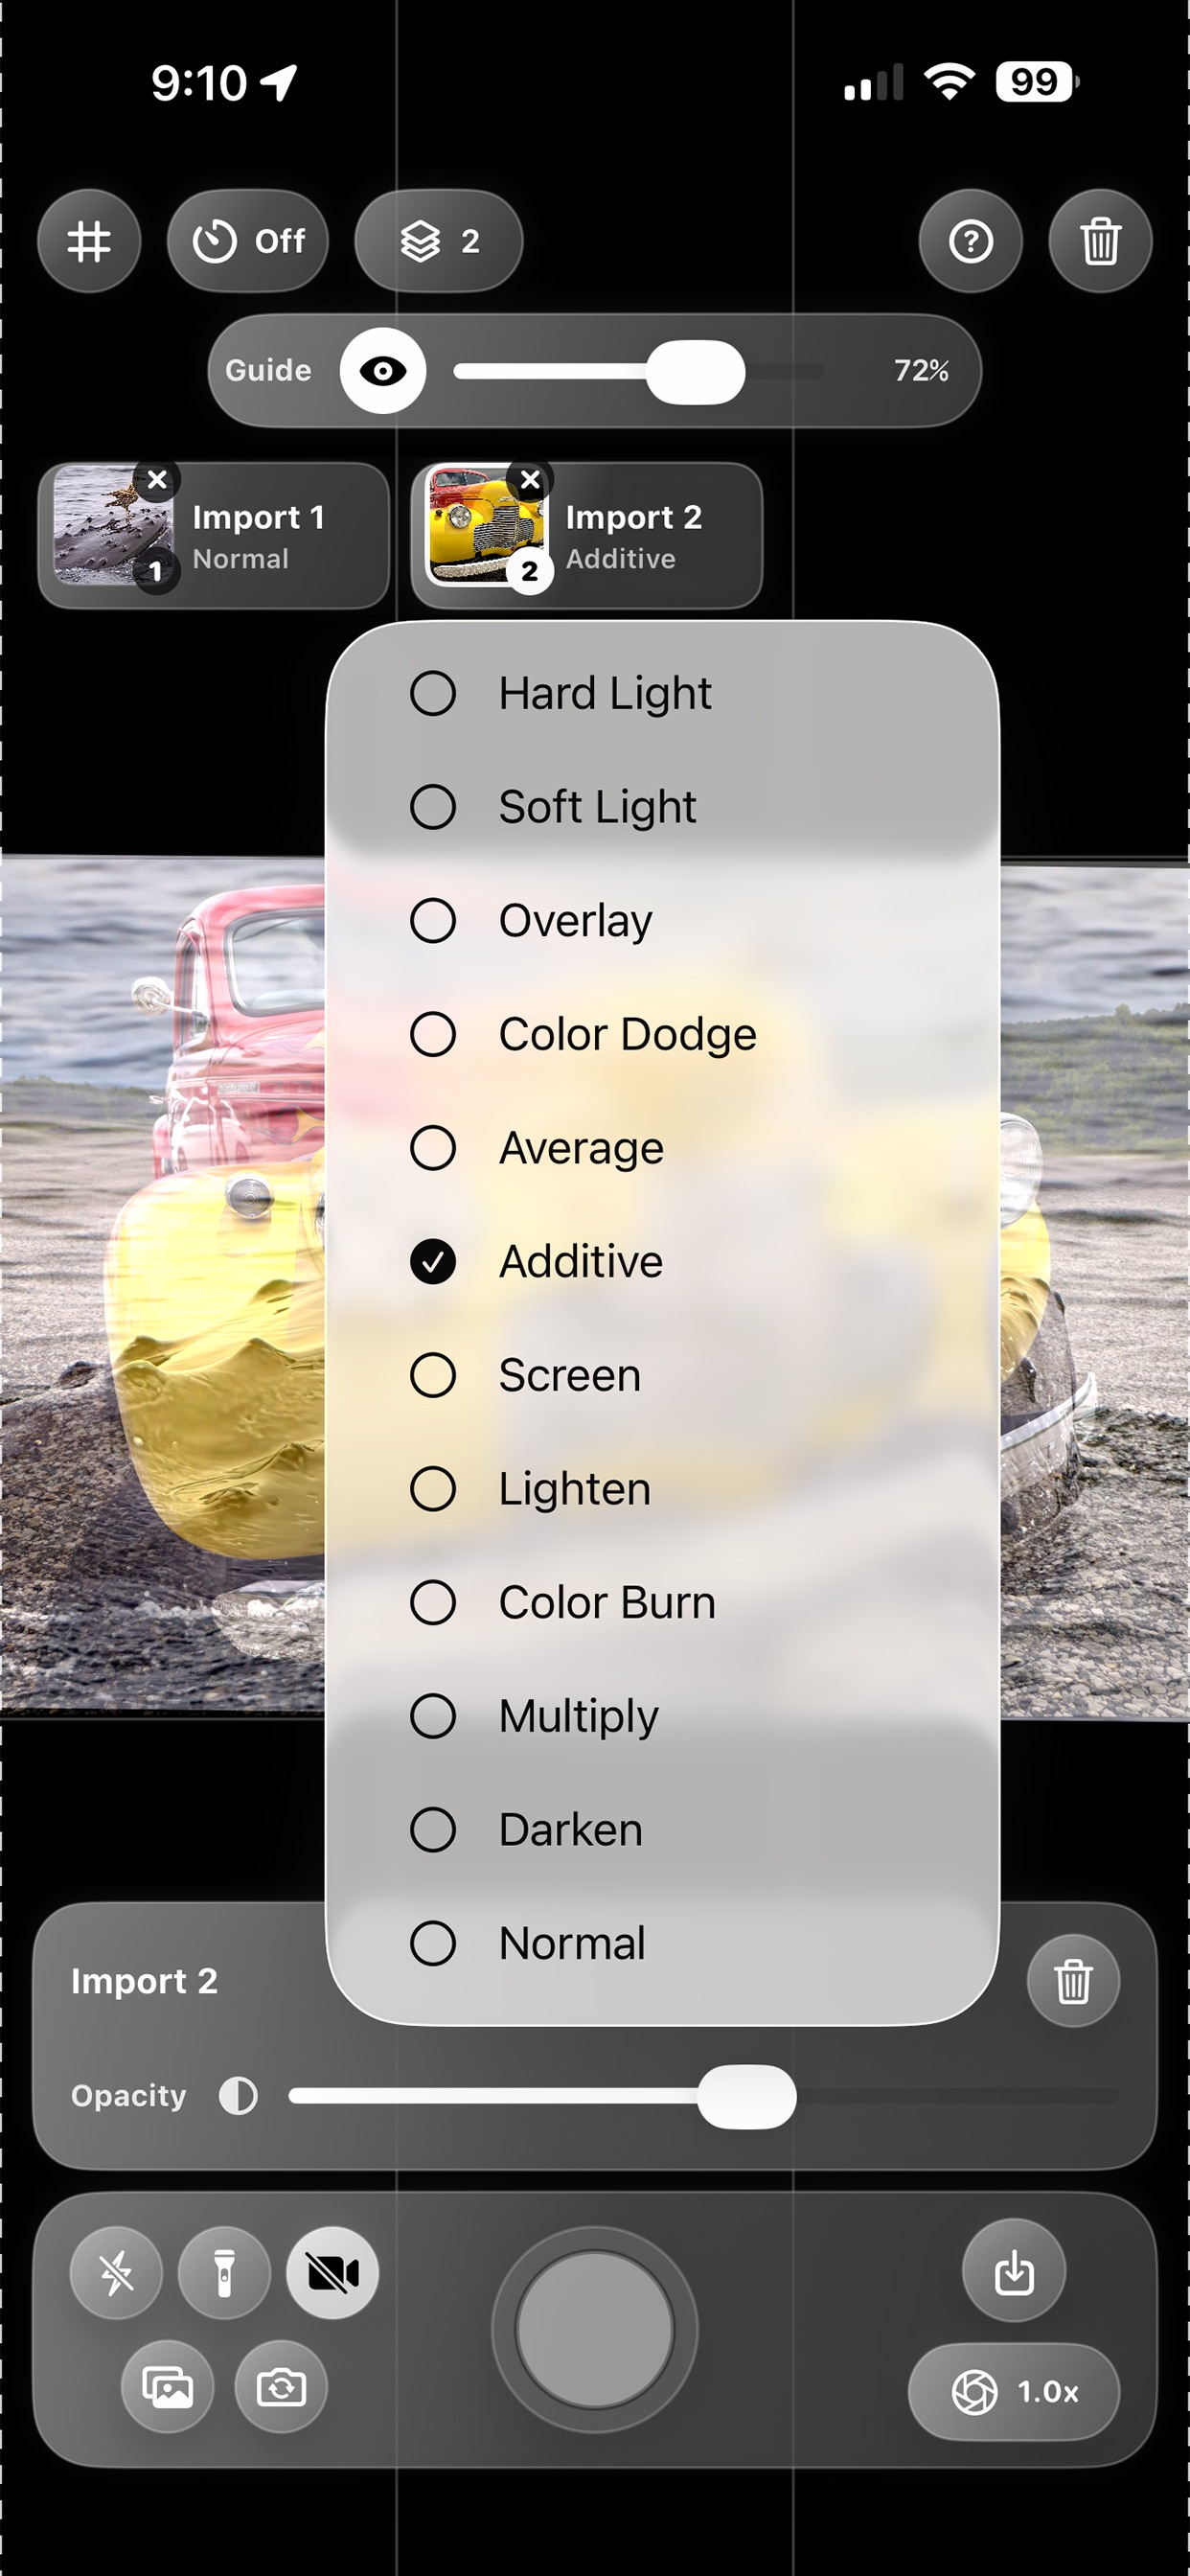
A blend mode determines how a layer combines with the image beneath it. Opacity determines the strength of that layer’s contribution. Start with the selected layer at a useful visible opacity, compare a few modes, then reduce opacity if the second picture overwhelms the first.
| Mode | What to look for | First experiment |
|---|---|---|
| Normal | A straightforward overlay, softened by reducing opacity. | Begin around halfway opacity and compare both subjects. |
| Screen | A lighter combination; dark areas contribute less. | Light patterns or luminous texture over a darker scene. |
| Multiply | A darker combination; light areas contribute less. | Dark texture against a light background. |
| Additive | Bright contributions can build up strongly. | Try light traces, then check highlights for lost detail. |
The halfway setting is a learning exercise, not a required recipe. One source pair may work at a much lower opacity than another. Overlay and Soft Light offer further contrast-based treatments once you understand the simpler combinations.
Check the whole image after every adjustment. A texture that looks interesting in the sky may hide the eyes in a portrait or create an awkward line through a building. Return to positioning and scale when a different placement solves the problem more cleanly than a stronger effect.
4. Use Guide to line up a new camera exposure
To add a live capture, enable the camera feed and compose the next photograph against your existing layers. Adjust Guide to make those layers easier to see while framing. Its purpose is alignment; use the selected layer’s Opacity control when you want to change that layer in the final blend.
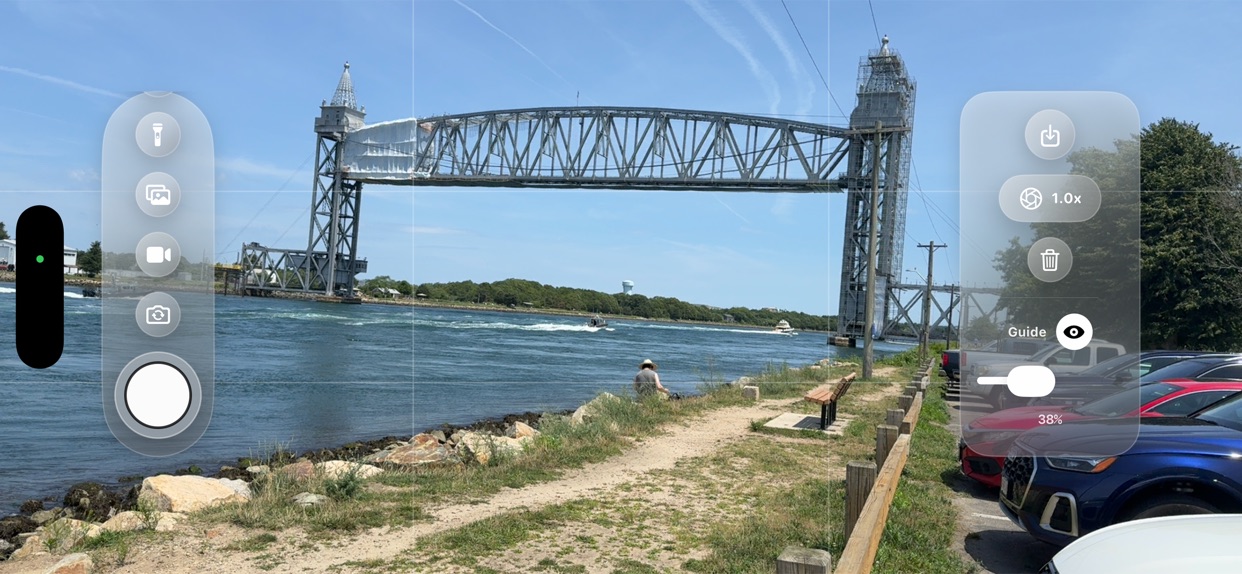
Keep the phone steady and pay attention to the relationship between large shapes. If you are combining repeated views of the same scene, a fixed support helps. If you want a looser artistic effect, shift the camera deliberately rather than accepting an accidental misalignment.
5. Save and check the actual image
When the composition works, save the combined image to Photos. The app exports a high-resolution result when the source material allows and crops unused canvas. Inspect the saved edges to make sure the final crop supports the picture.
- The wrong picture moves: select its thumbnail before dragging.
- A layer seems missing: check its opacity, placement, and blend mode.
- The view is unexpectedly dark or pale: compare Normal, then revisit Multiply or Screen with a gentler opacity.
- The camera is black: check camera permission and the camera visibility control.
View the saved picture at a larger size and inspect highlights, important facial details, and overlapping edges. Keep a restrained version and a stronger variation if both work. For control details, see DoubleIt Camera support.